New Custom Template
Table of Contents
- 1. Features — Basic Settings / Layout Content / Live Preview
- 2. FAQ — FAQ + Notices
- 3. Related Features
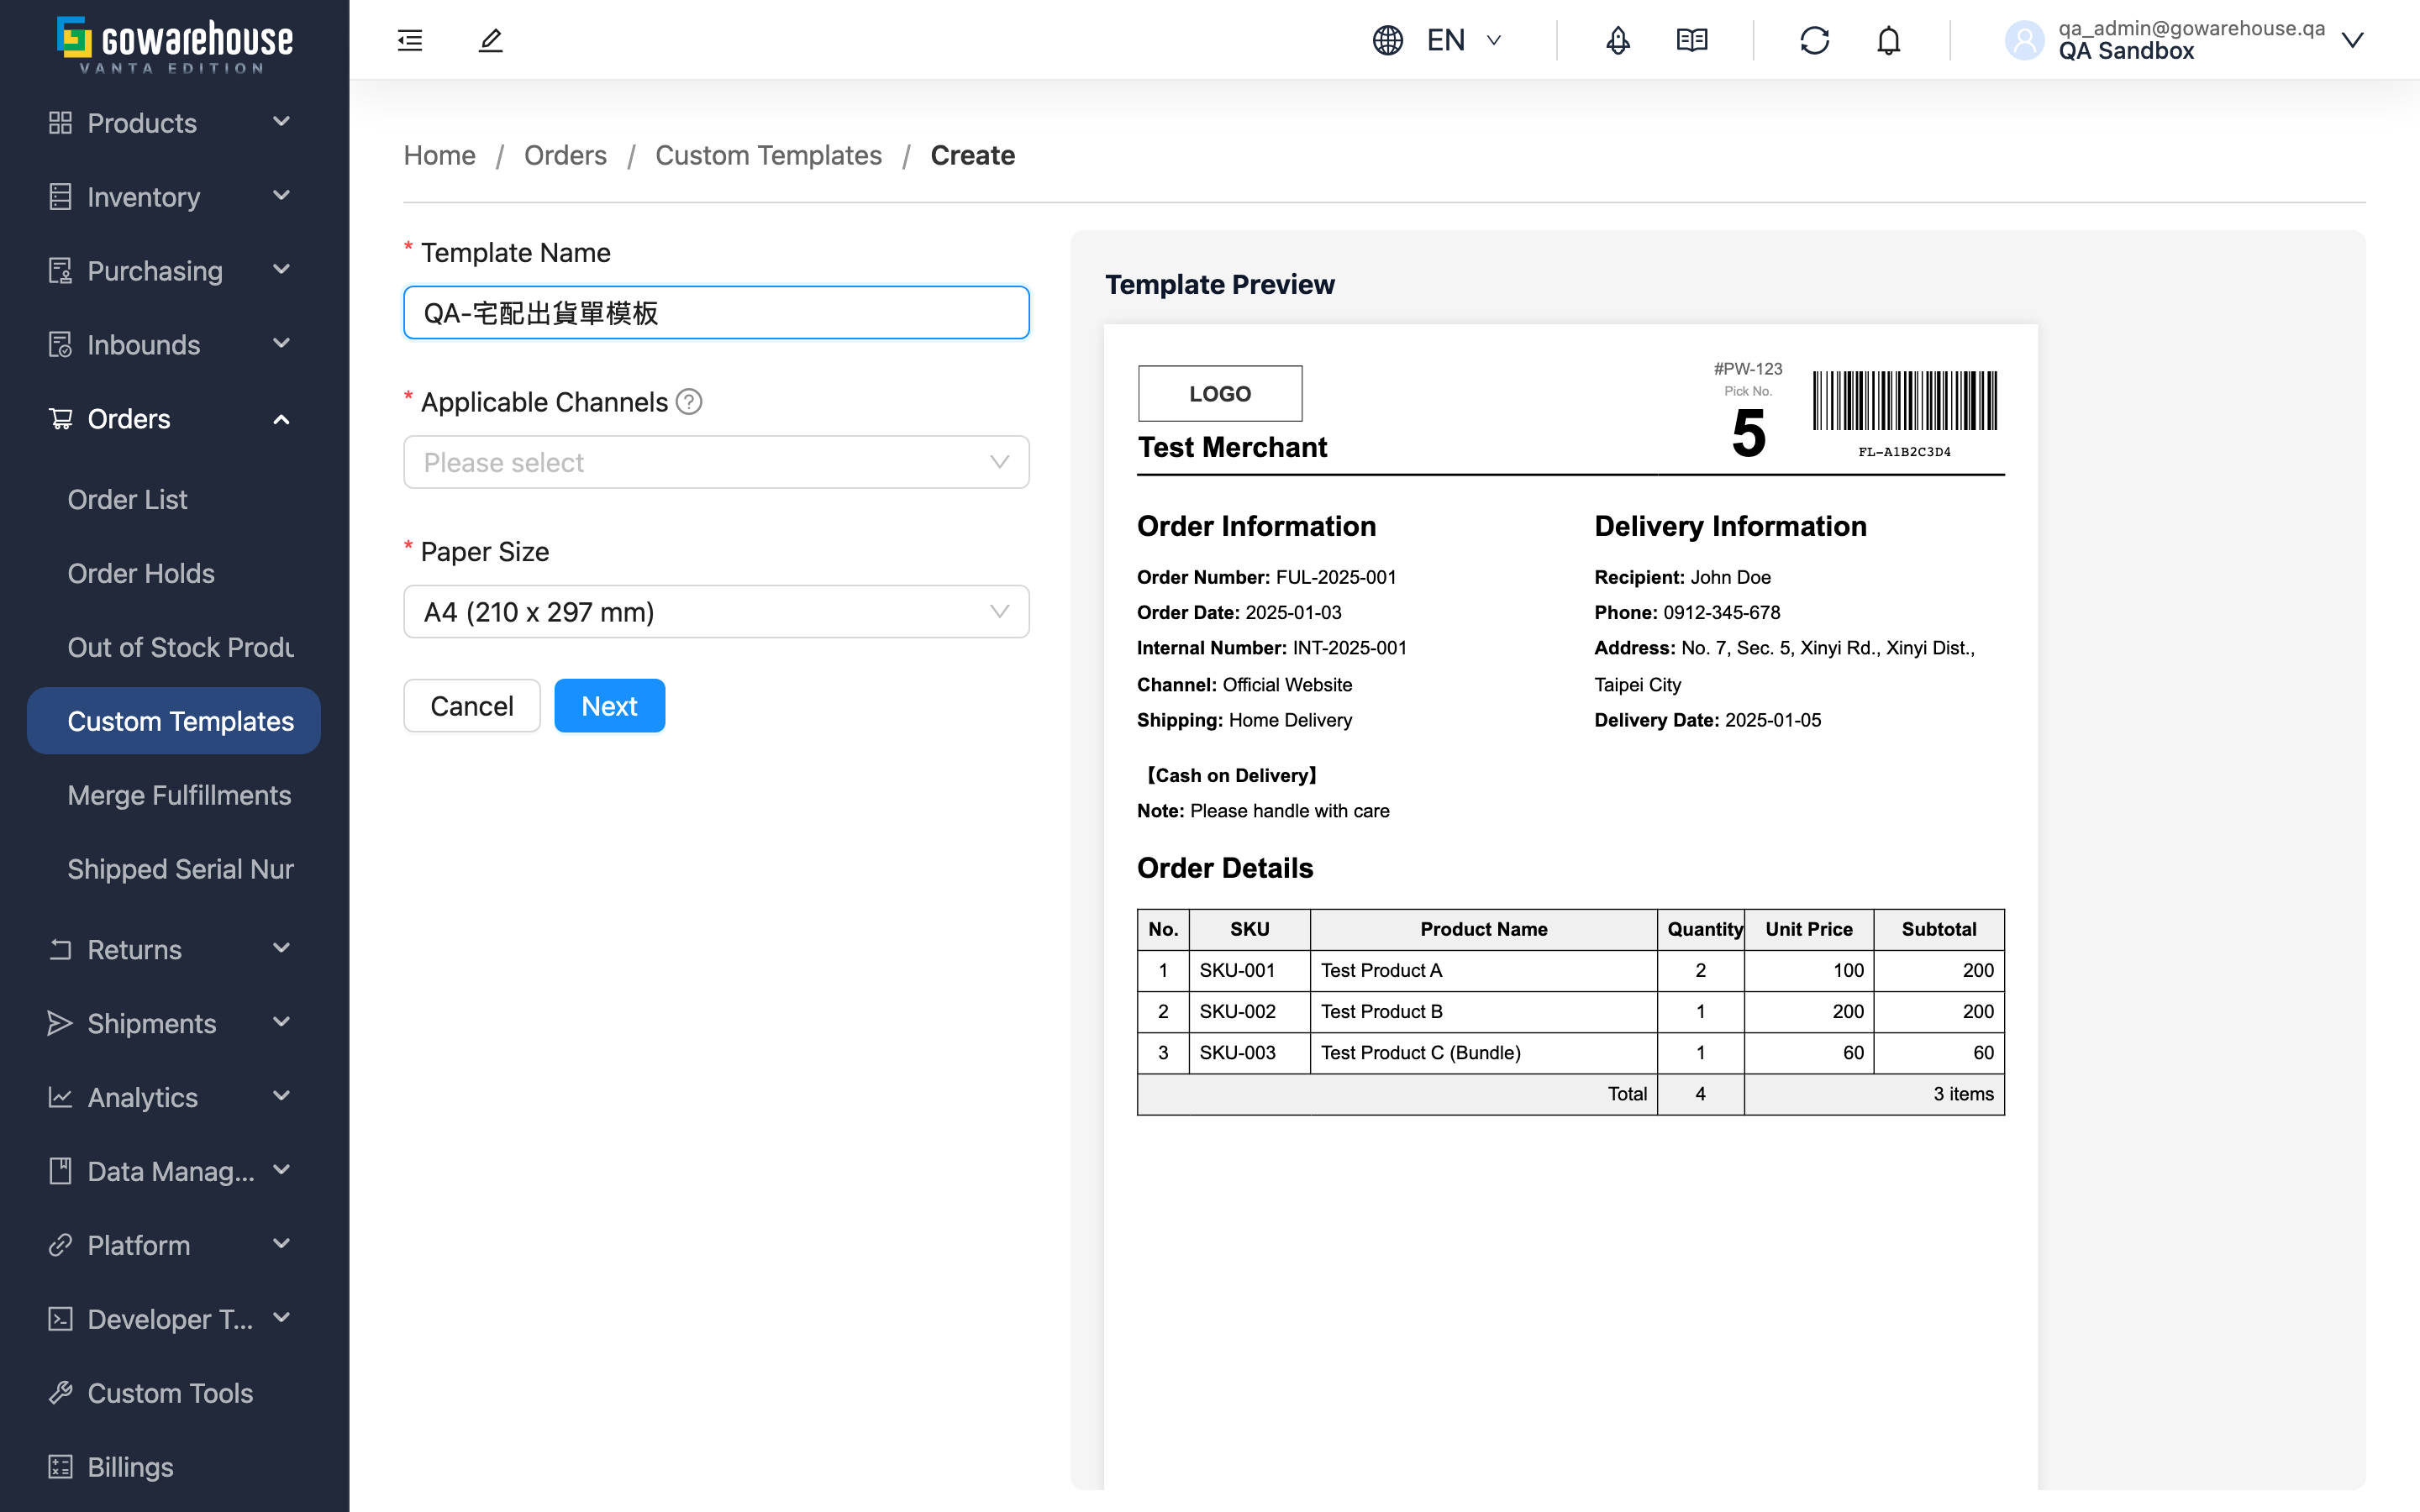
1. Features
The New page lets you build a dedicated shipping-document template for specific sales channels. Creation has two steps: first fill in the basic settings (name, bound channels, paper size), then move on to the layout content. When the page opens it automatically loads the system default template as a starting point — you can use it as is, or modify it, and confirm the result anytime via the live preview on the right.
Quick Jump: Basic Settings | Layout Content | Live Preview
1.1 Basic Settings
Fields marked with * are required
| Field | How to fill in | Notes |
|---|---|---|
| *Template Name | Enter an identifying name; describe its purpose clearly | e.g. "Shopee Shipping Doc", "Website A4 Details" |
| *Applicable Channels | Select the sales channels this template applies to; multiple allowed | If a channel is missing, add it first under "Merchant Channels" |
| *Paper Size | Choose A4 (210×297mm), A5 (148×210mm), or Custom | When "Custom" is chosen, also enter paper width and height (mm) |
| Description | Enter a note to help identify the purpose later | Optional |
After filling in the basic settings, click "Next" to move to the layout content; click "Previous" to go back and revise.
Tip: A channel uses only one template at a time. If a channel you select was already bound to another template, saving will rebind it to this new template automatically.
1.2 Layout Content
At step two, the system loads the default shipping-document template as a starting point, already including the store logo area, order and recipient information, the item details table, and the barcode area. You can use it as is, or click "Edit HTML" to open the advanced editor and adjust the layout.
The template uses dynamic fields to fill in each order's real data automatically (recipient, item details, tracking number, etc.). When unsure which fields are available, click "View Variables" to open the variable reference, then search for and copy the fields you need.
1.3 Live Preview
The panel on the right renders the template live with sample order data and updates automatically as you make changes, so you can adjust and verify the layout at the same time. When everything looks right, click "Save". To create several templates in a row, click "Save and Add Another" instead — after saving, the form clears and returns to the first step.
2. FAQ
2.1 FAQ
▪ Do I have to select a channel?
Yes. Applicable Channels is required; you must select at least one to save. Channels without a bound template use the system's built-in default layout for shipping documents.
▪ Can I bind multiple channels at once?
Yes. Applicable Channels supports multiple selection, and this template will apply to all selected channels.
▪ Where does the default template content come from?
The system provides a standard shipping-document template with common field arrangements, loaded automatically when you reach the layout content step. You can modify it instead of starting from scratch.
▪ What if the channel I want to bind is missing?
Create that channel first under "Merchant Channels", then return to this page and it will be selectable.
▪ It says the template content is missing the barcode area on save — what do I do?
The template content must keep the barcode area field so that the shipping document can correctly print the pick number and barcode. If you accidentally removed it in the advanced editor, restore that field before saving.
▪ Can I change the channel binding after creating?
Yes. Modify Applicable Channels on the Edit Custom Template page.
2.2 Notices
⚠️ Important Notes
- Every template must be bound to at least one sales channel to be saved
- Binding a channel to this template automatically removes it from the template it was bound to before
- The template content must keep the barcode area field, otherwise it cannot be saved
- When paper size is "Custom", width and height are required and must be greater than 0
💡 Tip: If you are unsure how to change the layout, create it using the default template first and bind the channels; you can always fine-tune later on the edit page.
3. Related Features
| Feature | Description | Link |
|---|---|---|
| Custom Templates | View all shipping-document templates | Go |
| Custom Template Details | Preview the layout and view bound channels | Go |
| Edit Custom Template | Modify template settings and layout content | Go |