Create EC Account
Table of Contents
- Section 1: Features — Connection Info / Test & Authorize / Function Settings
- Section 2: FAQ — 6 questions + Notes
- Section 3: Related Features
Section 1: Features
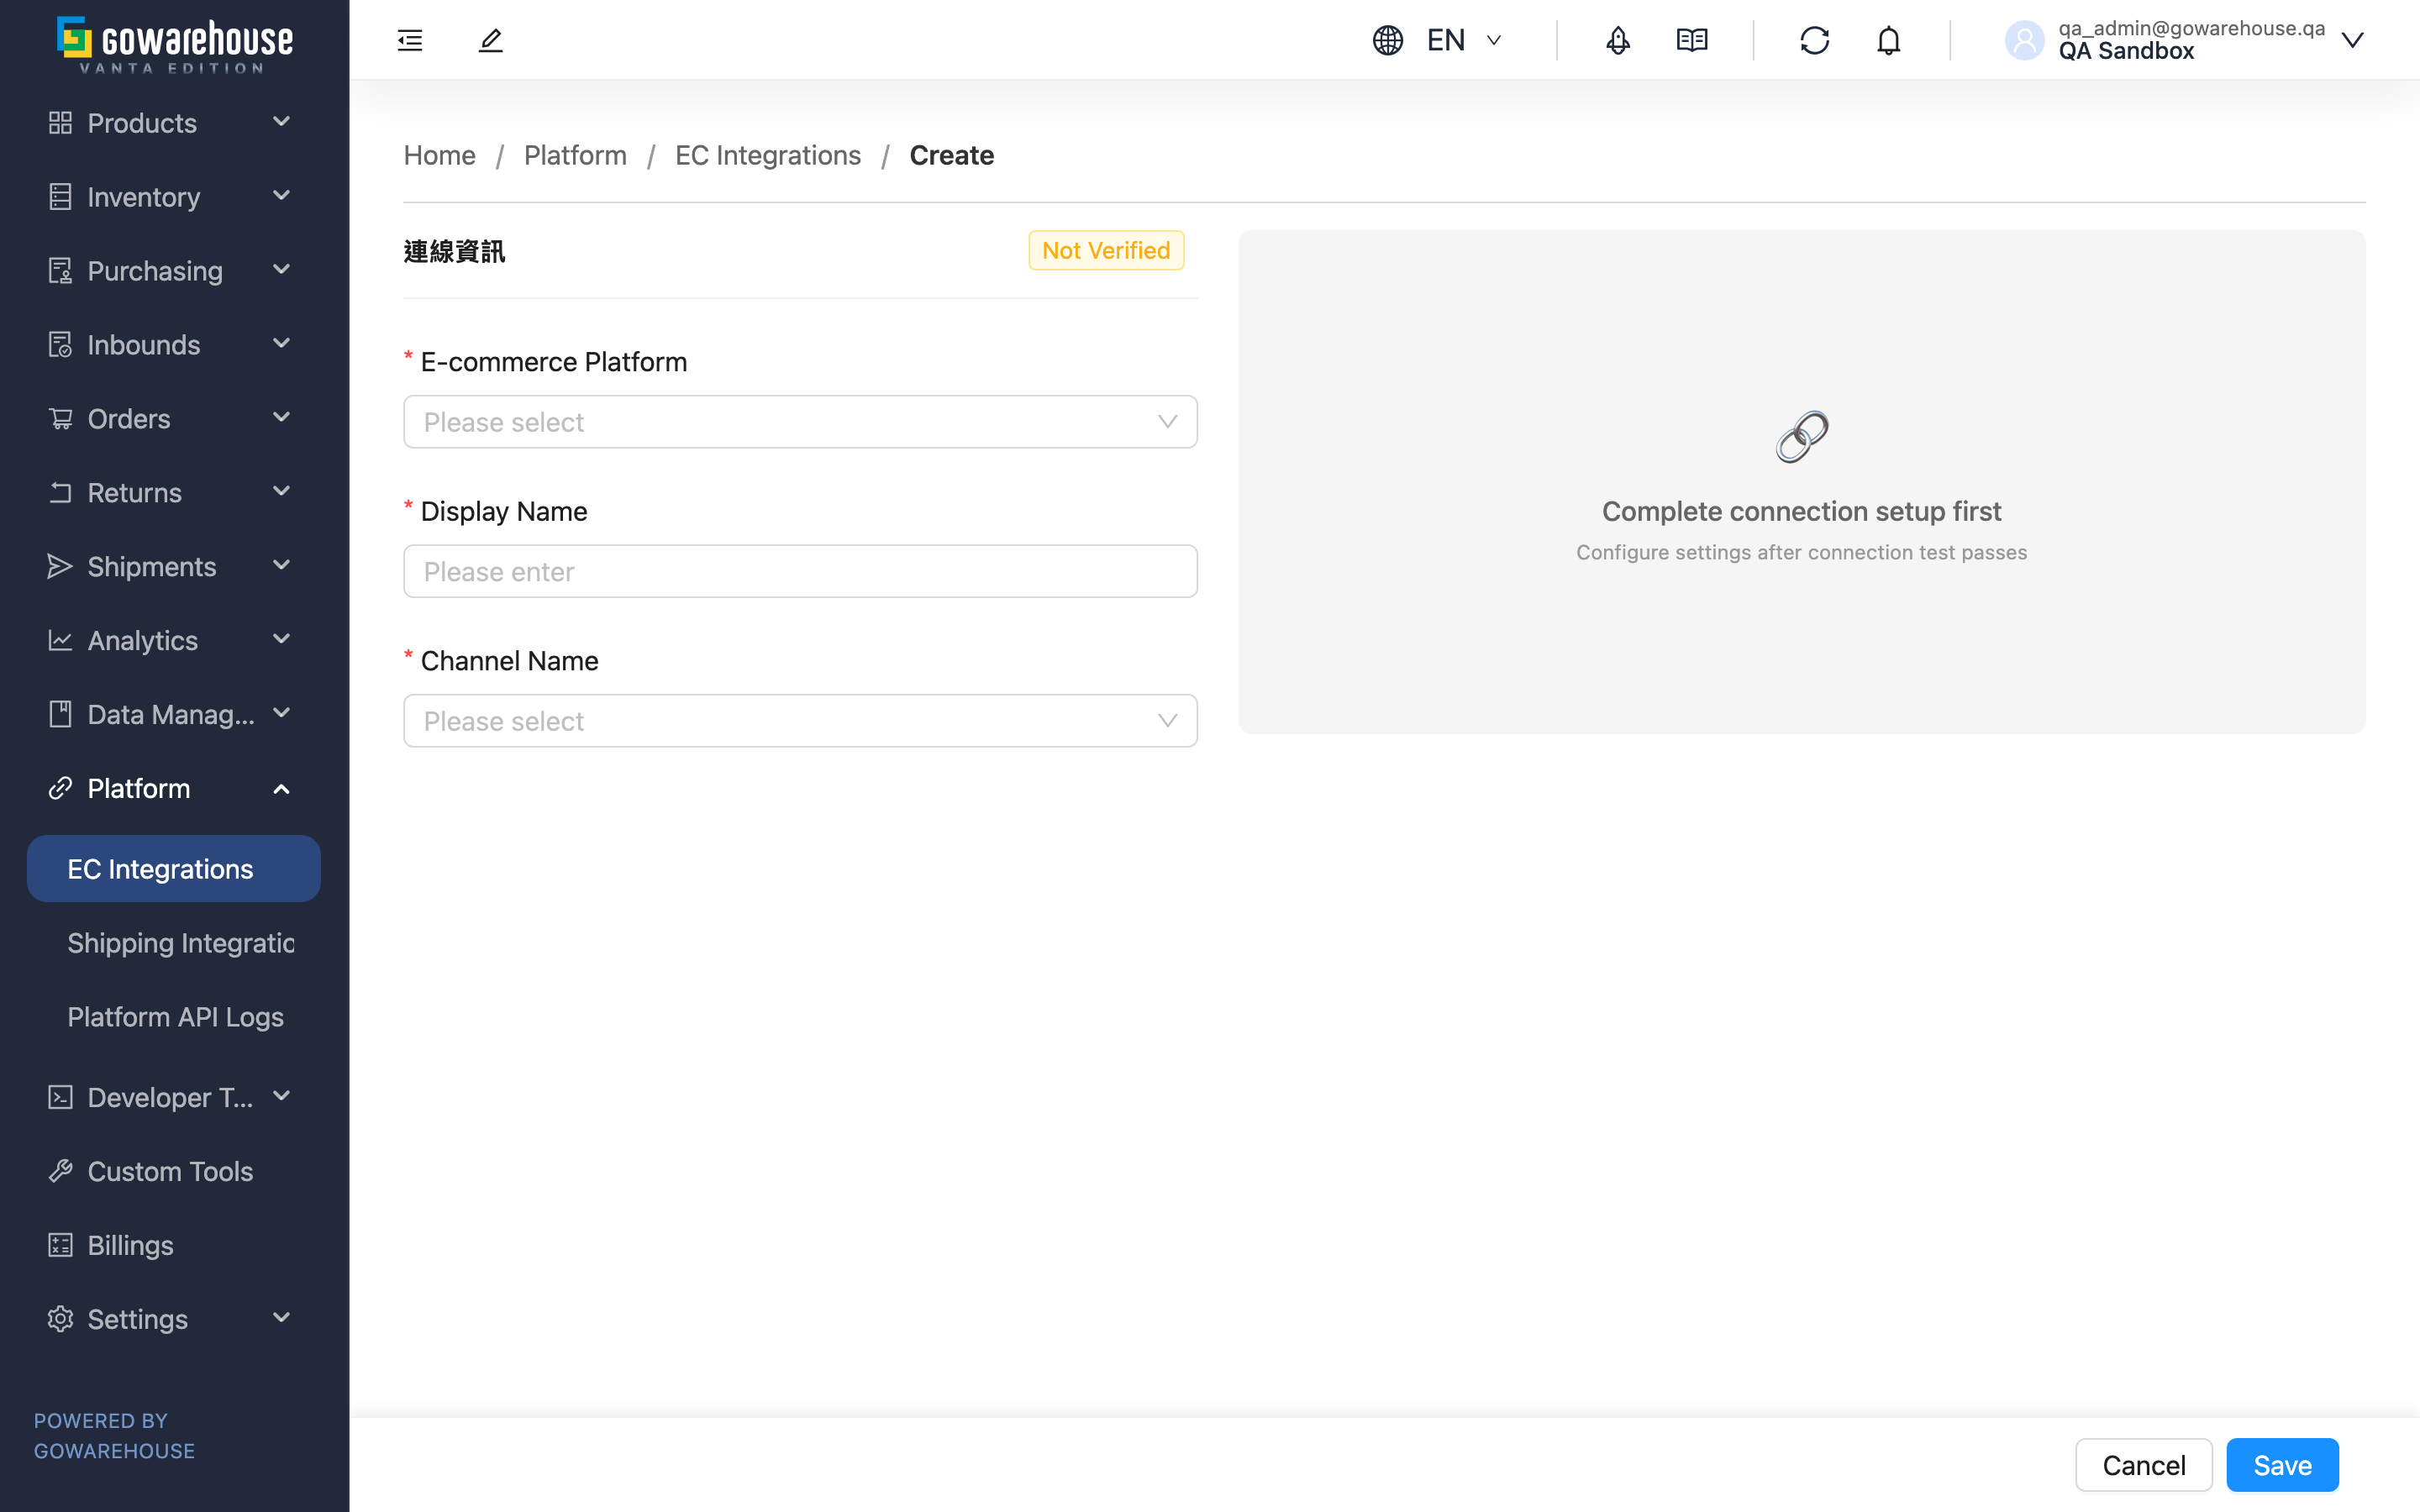
Creating an EC account is the setup page that connects one e-commerce platform (Shopee, Momo, Shopify, Shopline, etc.) to the warehouse system. The screen splits into two halves: on the left, "Connection" is where you fill in the platform and integration credentials and establish the connection; once connected, the right half, "Settings", unlocks so you can configure auto fetching, inbound push, and more. The order is fixed — connect first, then configure functions.
Quick Jump: Connection Info | Test & Authorize | Function Settings
1.1 Connection Info (left half)
Fields marked with * are required
| Field | How to Fill | Notes |
|---|---|---|
| *E-commerce Platform | Select the platform to connect from the list | Cannot be changed after creation — confirm you pick the right platform |
| *Display Name | Give the account an easily recognizable name | Used to tell multiple accounts on one platform apart |
| *Channel Name | Select the sales channel to bind this account to | If no channel is available, create one under "Merchant Channels" first; the channel determines the shipping inventory type and rules |
| Authorization Settings | Fill in the integration credentials (keys, secrets) for the chosen platform | Fields vary by platform; key-based platforms require this before testing the connection |
After selecting a platform, the platform-specific credential fields appear below. Credentials come from the platform's seller backend or developer settings, and each platform requires different fields.
1.2 Test & Authorize
E-commerce platforms come in two integration types, and the button at the bottom appears automatically by platform:
| Platform Type | Action | Description |
|---|---|---|
| Key-based (e.g. Momo, WooCommerce) | Fill credentials, then click "Test Connection" | The system verifies credentials immediately; on success the status turns to "Connected" |
| Authorization-based (e.g. Shopee, Shopify) | Click "Authorize & Connect" | You are redirected to the platform's authorization page; after you log in and consent, you return and the status turns to connected |
When the connection fails, the system shows the reason below the button (e.g. wrong credentials, platform reports unauthorized). Check that credentials are correct per the message, then try again.
1.3 Function Settings (right half)
The right half is locked until the connection succeeds. Only after a successful connection does it unlock, where you can configure:
▸ Order Fetching
| Setting | Description |
|---|---|
| Fetch Orders | When on, new platform orders import into the warehouse automatically |
| Fetch Schedule | Pick the daily fetch time slots, up to 3; at least one slot is required when order fetching is on |
▸ Inbound Push
| Setting | Description |
|---|---|
| Inbound Push | When on, each restock automatically pushes the added quantity to this platform |
| Push Percentage | Enter 0–100 to control the share of the inbound quantity pushed to this platform; used to allocate across platforms when the same product sells on several, preventing overselling |
▸ Shipping Code Mapping
Some platforms (e.g. Shopee) support mapping the platform's shipping options to warehouse-side shipping methods, matched automatically on shipment. Just map each platform shipping code to a warehouse-side shipping method under "Shipping Type Mappings".
Once everything is set, click the save button at the bottom to finish, and the page returns to the EC account list.
Section 2: FAQ
2.1 FAQ
▪ Why are the function settings on the right grayed out and unclickable?
Function settings unlock only after a successful connection. Fill in the platform and credentials on the left, complete "Test Connection" or "Authorize & Connect", and once the status turns to "Connected" the right half opens up.
▪ What if I can't select a sales channel?
It means this brand has no channel yet. Go to "Data Management" → "Merchant Channels" to create one (it determines the platform's shipping inventory type, expiry, and shipping rules), then come back to create the EC account.
▪ I picked the wrong "E-commerce Platform" — can I change it?
The platform cannot be changed after creation. If you picked wrong, you can only delete this account and create a new one. All other fields (display name, channel, credentials, function settings) can be adjusted later on the Edit page.
▪ Why does the connection test keep failing?
The most common cause is mistyped credentials or extra copied whitespace, followed by insufficient key permissions on the platform side, or authorization not yet in effect. The system shows the platform's specific reason below the button — check each credential against the message. For authorization-based platforms, confirm you actually logged in and consented on the authorization page.
▪ What should I set the push percentage to?
If this product sells only on this one platform, set 100. If the same product sells on several platforms, allocate a percentage to each, totaling no more than 100, to avoid overselling. When unsure on a fresh integration, leave inbound push off and enable it later on the Edit page.
▪ Do I have to configure fetching and pushing right when creating?
No. You can save as soon as the connection succeeds and add settings anytime on the Edit page. It's best to enable only "Order Fetching" at first, then turn on advanced features like inbound push once you're comfortable.
2.2 Notes
⚠️ Important
- "E-commerce Platform" cannot be changed after creation; a wrong pick means delete and recreate
- When "Fetch Orders" is on, at least one fetch time slot is required, or you cannot save
- Push percentages totaling over 100% across platforms cause overselling
💡 Tip: After creating and connecting successfully, run a few orders through the complete flow before enabling full-volume fetching — it's the easiest way to catch setup gaps.
Section 3: Related Features
| Feature | Description | Link |
|---|---|---|
| EC Integrations (List) | View and manage all EC accounts | Go |
| Sales Channel | The channel setup you must create before adding an EC account | Go |
| EC Integrations (Edit) | Adjust the credentials and function settings of an existing account | Go |